Add Linked Exhibits
A videographer needs to add an exhibit to a DVT. By linking the exhibit, she makes it much easier to reference the exhibit anytime it is mentioned in the DVT for her other team members that use the DVT.
The videographer opens the DVT and navigates to the Transcripts tab before she begins the following steps:
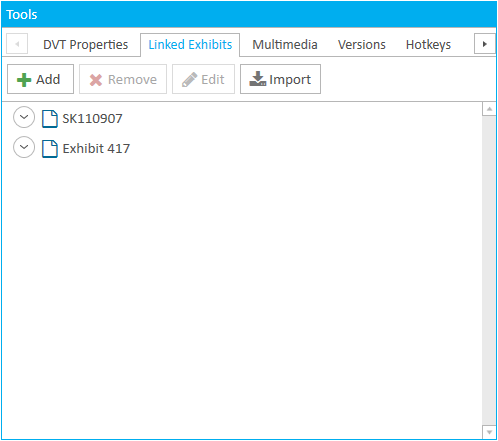
- Click the Linked Exhibits tab in the Tools panel.
- Click the Add button.
- Choose an exhibit file.
- Add Aliases.
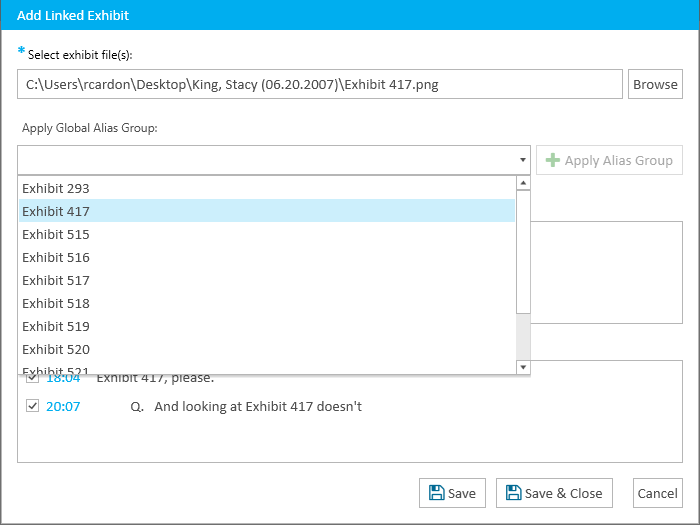
- To add a global alias group, the videographer clicks the dropdown menu and selects the group she wants. Then, she clicks Apply Alias Group. The aliases from the group are added to the Alias(es) field.

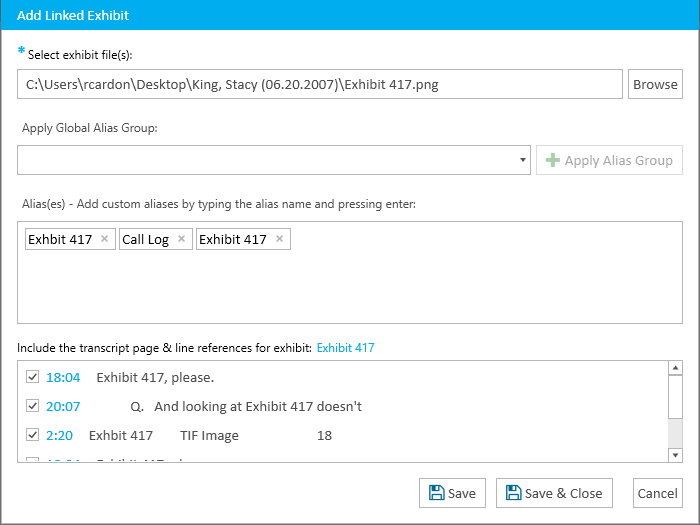
- To add aliases individually, she types the new alias in the Alias(es) field and presses Enter on her keyboard.

- Click Save & Close.

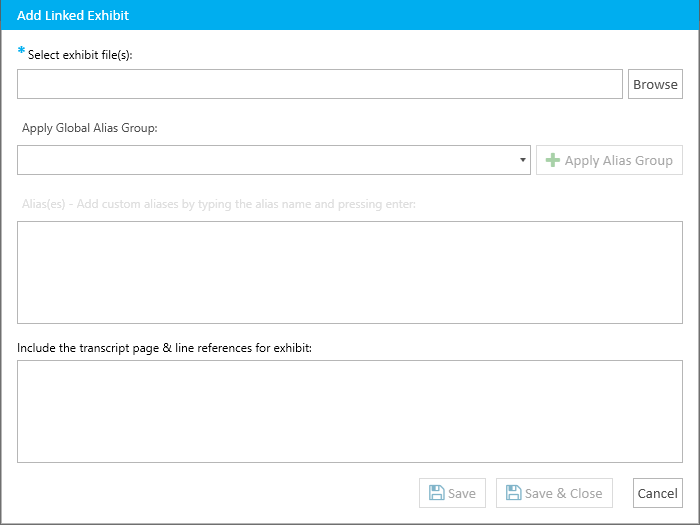
The Add Linked Exhibit dialog appears.
 Note: The Add button is also found in the right-click context menu of the Linked Exhibits tab in the Tools panel.
The dialog allows the videographer to choose an exhibit file. The videographer can enter in the file path for the exhibit manually, or click the Browse button to navigate to the file in the File Explorer.
If an exhibit file is named the same way it was referenced in the transcript, SYNC will link it to each reference found. These links appear in the field at the bottom of the dialog.

Note: SYNC searches the transcript for matching numbers in the exhibit's file name. If the videographer uploads an exhibit named "Exhibit 1", SYNC will not only produce links for all references in the transcript to "Exhibit 1", but also "Exhibit 12" and "Exhibit 133", because SYNC searches for any number that starts with the number 1. The videographer can deselect the references she doesn't want linked to the exhibit by clicking the checkbox next to the reference.
Aliases are alternate names for an exhibit referenced in the transcript. The videographer can choose global alias groups from the dropdown, or enter aliases manually.
The page and line references field is populated according to the exhibit file name and any aliases entered. SYNC searches the transcript for matching terms and the page and line references appear. All the entries are selected by default. If there is a place in the transcript where the videographer does not want the exhibit linked, she can uncheck the box.
With all the fields populated to her satisfaction, the videographer clicks Save & Close.
The dialog closes and the exhibit is linked to the page and line references that were selected.
 Tip: There are several other ways to add linked exhibits.
- Multi-Select - After clicking Browse from the Add Linked Exhibits dialog, select multiple exhibits at once from the File Explorer and click Open. All the exhibits appear in the "Select exhibit file(s)" field. Note that the alias fields are disabled. To add aliases to the exhibits, edit the exhibits individually.
- Drag and Drop - Open the Windows File Explorer and drag the exhibit files you want to the Linked Exhibits tab in the Tools panel. Again, to add aliases to these linked exhibits, edit them individually.
- Right Click - Right click within the Linked Exhibits tab and click Add Linked Exhibit.
While you can link any type of file, linked exhibit file types generally include:
- Documents
- Images
- Multimedia
- Digital Video Transcripts (DVTs)
- Native Files
Note: To make changes to a linked exhibit after you add it, edit the linked exhibit.
For more information on aliases, view the following topics: