Create a Clip
A paralegal needs to create a clip from a transcript that will be used at trial.
The paralegal can create a clip from a transcript using any of the following methods:
- The Transcript Work Area right-click context menu
- The Clips Explorer ribbon bar
- The Multimedia Player
Transcript Work Area Right-Click Context Menu
To create a clip from a transcript, the paralegal opens a transcript in a case and follows the steps below:
- Select text within the transcript in the Transcript Work Area.
- Right click on the selected text.
- Click the Create Clip button.
- Enter the information for the clip.
- Click the Save button.
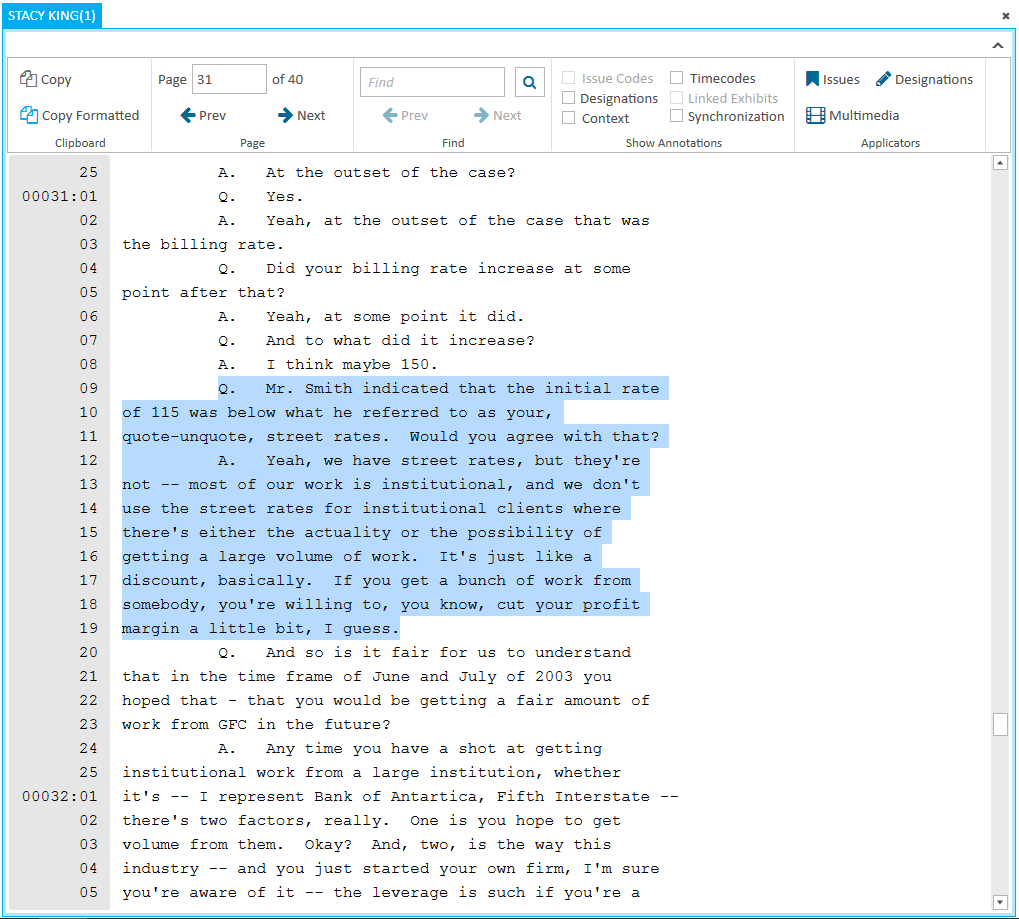
With a transcript open in the Transcript Work Area, the paralegal selects the text he wants to create a clip from.
The paralegal right clicks on the text he selected. The context menu appears.
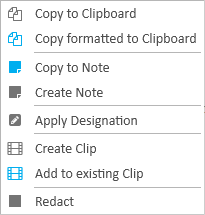
The paralegal clicks the Create Clip button in the context menu.
The Create Clip dialog appears.
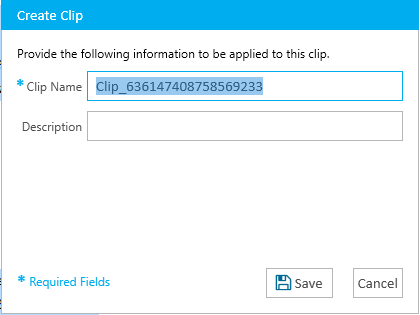
The paralegal enters a name and a description for the clip.
When he is done, the paralegal clicks the Save button and the clip is created from the selected text.
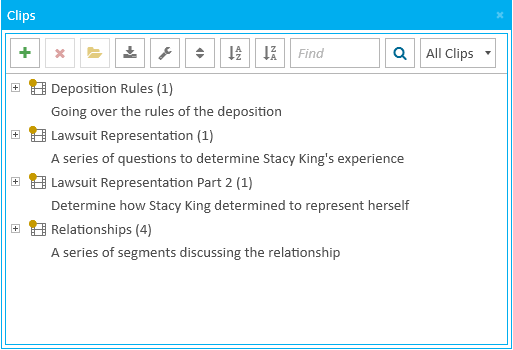
When a clip is created, it appears under its respective transcript in the Transcripts Explorer as well as in the Clips Explorer.
Clips Explorer
To create a clip from the Clips Explorer, the paralegal opens a case and follows the steps below:
- Open the Clips Explorer.
- Click the Add button in the explorer.
- Fill in the information for the clip.
- Clip Name - The name to identify the clip
- Transcript - The transcript the clip is created from
- Description - A short phrase to help describe the clip or its purpose
- Page:Line (two text fields) - The transcript page and line reference range to create a segment of the clip. Pressing the Enter key after filling in the fields adds the segment to the segment playlist (e.g. 5:12 to 6:4)
- Multi-Segment Mode - With this option selected, multiple segments can be added to the clip by continually entering Page:Line references and pressing the Enter key on the keyboard. If not selected, the clip only accepts one segment.
- Click the Save button.
- Save - Saves the clip, does not close the dialog, and clears the fields so the paralegal can create another clip right away
- Save & Open - Saves the new clip and opens it in the Clip Work Area
- Save & Close - Saves the clip and closes the Create Clips dialog
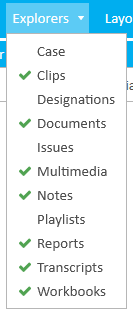
The paralegal clicks the Clips Explorer tab to open it.
If the explorer is hidden, he can use the Explorer dropdown in the main menu to view it.
The paralegal clicks the Add button in the explorer.

The Create Clips dialog appears.
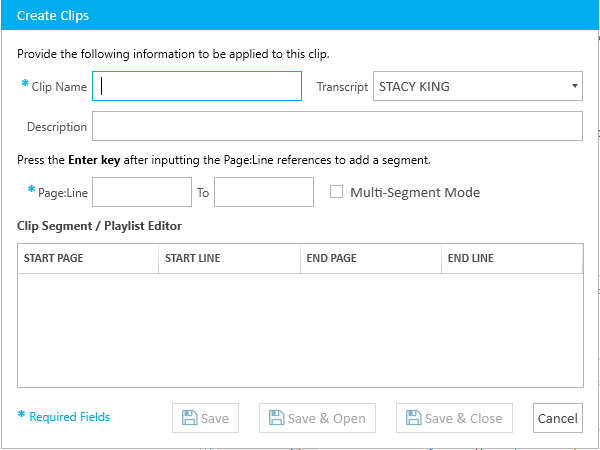
The paralegal enters the following information in the Create Clips dialog:
With the information filled in, the paralegal can move on to the next step.
There are several save options for the paralegal's convenience:
When a clip is created, it appears under its respective transcript in the Transcripts Explorer as well as in the Clips Explorer.
Multimedia Player
To create a clip from the Multimedia Player, the paralegal opens a case and follows the steps below:
 Note: Clips cannot be created from synchronized transcripts using the Multimedia Player. Only single, un-synchronized multimedia files from the Multimedia Explorer.
- Open a multimedia file from the Multimedia Explorer.
- Enter the information for the clip.
- Click the Save button.
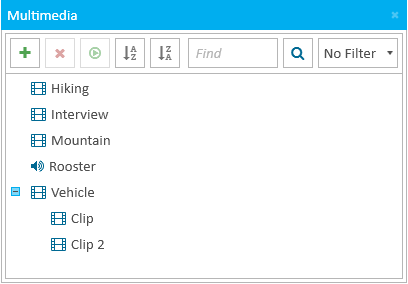
The paralegal opens a multimedia file from the Multimedia Explorer.
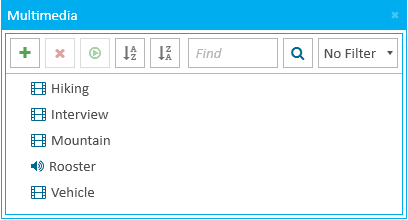
The multimedia file appears in the Multimedia Player.

Note: If the clip creation options are not already visible, click the Expand button to see them. 
Name - The paralegal enters a name to easily identify the clip.
Start Time - To set the Start Time, the paralegal positions the multimedia scrub bar at the point in the media where he wants the clip to begin.

When he is satisfied with the position, he clicks the Set Start button. The Punch In timestamp is filled in with the time where the scrub bar is positioned.

The paralegal can further adjust the timestamp by right or left clicking on the first digit of the seconds or any of the milliseconds. Right click advances the digit forward by 1 while left clicking sends the digit backward by 1.
End Time - To set the End Time, the paralegal follows the same steps for setting the Start Time. However, instead of clicking the Set Start button, he clicks the Set End button.

The paralegal can also adjust the individual digits for the Punch Out timestamp by right or left clicking on the activated digits.
With the timestamps set, the paralegal can move on to the next step.
The paralegal clicks the Save button above the Punch In and Punch Out times.
The new clip is saved and appears in the Multimedia Explorer under the media it was created from.